Showing posts with label Love Notes pillow. Show all posts

Thursday, February 13, 2025

Valentine Pillows Completed

I had started two different Valentine's Day pillows, this time last year.  I was unable to complete the pillows.  Although I was so eager when I started the pillows, I believe I soon became tired of these projects.  

Since Valentine's Day is just around the corner, I found the good sense to finally finish the pillows!


- - - - - - - - - - - - - - - - - - - - - - - - - - - - - - - - - - - - - - - - - - - - - - - - - - - - - - 

Heart to Heart Pillow

In the last post for my Heart to Heart pillow, I had the hearts appliqued and the blocks pieced together.

I think one of the reasons that I had stopped working on this pillow was because of the quilting.  I wanted to quilt more than straight lines.  I wanted to quilt something that consisted with curves, but I never had much luck with free-motion quilting with my sewing machine.  I had to try something.

I found a continuous line quilting pattern with hearts.  I thought the pillow was small enough to stitch over the marked (frixion pen) lines.  

This is the backing with the quilting design marked...   


the quilting lines stitched...


and the marked lines erased with a hot iron.


I was very surprised with how well the quilting turned out, once it was finished!  My stitches aren't perfect, but I am very happy with my pillow. 


- - - - - - - - - - - - - - - - - - - - - - - - - - - - - - - - - - - - - - - - - - - - - - - - - - - - - - 

Love Notes Pillow

When I had last set down my Love Notes pillow, I had completed the top with the large hand-sewn running stitches around the envelope blocks. 


Since I had simple quilting stitches on the front of the pillow, I wanted the same for the back.  I used a large grid pattern, the size of the envelopes on the front.


And again, I am very happy with my Love Notes pillow.  I should have finished these pillows a lot sooner than I did.


- - - - - - - - - - - - - - - - - - - - - - - - - - - - - - - - - - - - - - - - - - - - - - - - - - - - - - 

And a little extra for Valentine's Day.  I made a tiny tote bag full of small goodies to surprise a young lady. 


Till next time,

- - - - Jane - - - -

Friday, March 22, 2024

A Valentine's Day Pillow - Part Four

It's a bit late.  It is past February 14th, Valentine's Day, and I'm still finishing my Valentine's Day project, the Love Notes pillow.

This last weekend, it was spring break and we had to drive our son back to college.  Sitting in the passenger seat, I needed a project to work on for that long drive.  I decided to bring my Love Notes pillow.  

In the pattern, big hand-stitched quilting was used.  I marked the stitch lines with my Frixion pen and used DMC pearl cotton embroidery thread for the stitching.


The red hand stitching will give the pillow just enough "pop" once it is finished.


Till next time, 

- - - - Jane - - - -

Wednesday, February 21, 2024

A Valentine's Day Pillow - Part Three

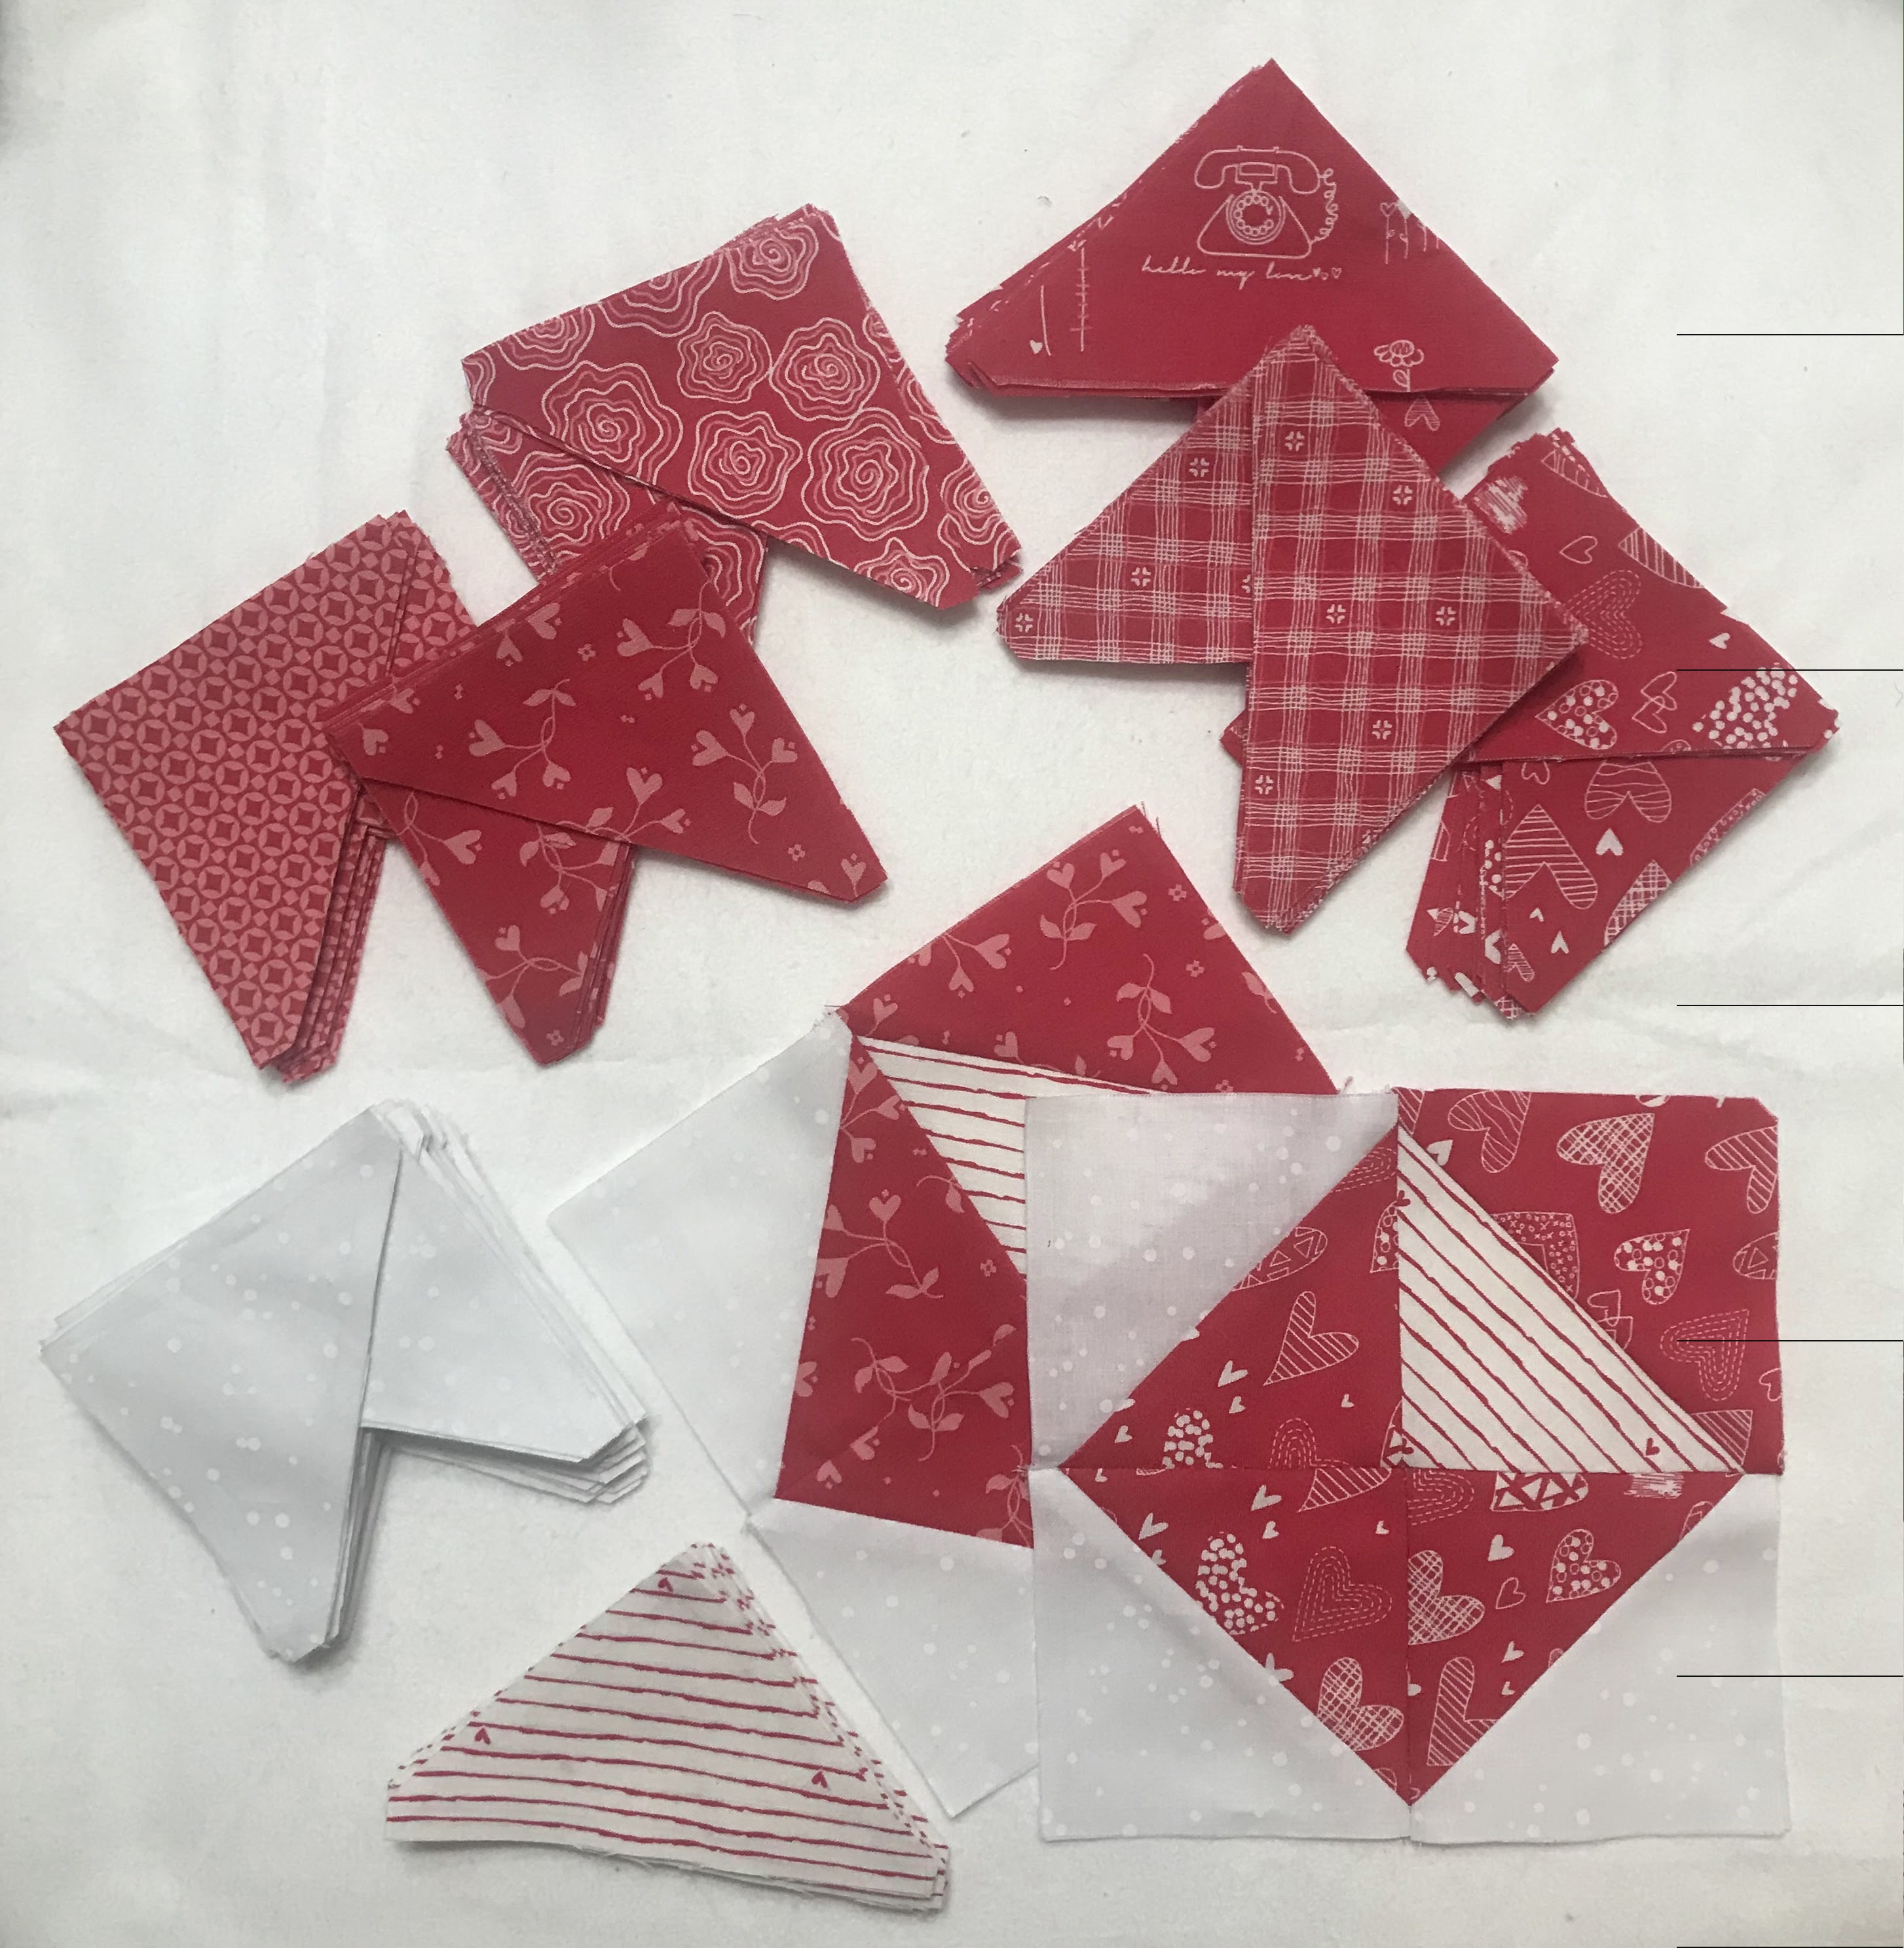
I've made too many envelope blocks, for a pillow, at least.  I don't have enough to make a bed size quilt, but since the fabric is on clearance at SewTech, I just might get some more fabric to make a small size quilt to make a bed runner for the guest bedroom.


I placed 9 of the 6 inch envelope blocks together to create an 18 inch panel block.  


I'm not planning on quilting this pillow.  In the Valentine Love Notes Pillow Cover pattern, there is red, large, hand-quilted stitches in the white background fabric.  I think its a perfect accent to a very cute pillow.


I have added a link, below, to the From the Heart fabric I used in this pillow.


Til next time, 

- - - - Jane - - - - 

Sunday, February 18, 2024

A Valentine's Day Pillow - Part Two

Where were we when we left off in the last Valentine pillow post?  We were at the finished envelope block.


Next, we'll be adding the cute little applique heart.

I had made my heart template from a plastic lid from a cottage cheese container.  I collect lids from margarine, dips, etc., containers.  The lids are easy to cut shapes for template.

To adhere the heart to the envelope, I used a fusible web, Steam-A-Seam 2.  I trace the heart template to the grid side of the fusible web.


When you cut the fusible we, cut outside of the pencil mark.


Then, peel the back side of the fusible web.  The fusible web will be tacky.


I placed the fusible web on the back side of some red fabric.  Since it is tacky, it allows you to reposition the fusible web, if you need to.


Now, cut out your fabric on the pencil line.


Once it is cut out, peel the paper on the back side and place the heart on the envelope. The back side will be sticky/tacky, so you can reposition the heart before adding the heat of the iron.  That's why it's my favorite fusible web!


Once the heart is ironed to the block, I was able to start machine appliqueing, using the blanket stitch.


Til next time,

- - - - Jane - - - -

Wednesday, February 14, 2024

A Valentine's Day Pillow - Part One

Happy Valentine's Day!!  <3

I know I had started this project a little late.  The goal, with a project, is to have it finished by the due date or the holiday.  In this case, like so many, it won't be finished by that time.  I'll be able to display it, on Valentine's Day, next year.  I've wanted to use this fabric collection and a pillow was the perfect small project.


I used fabrics from the From the Heart collection from Riley Blake.  It includes a variety of different red and white prints that I could play with.  The red fabrics would give the pillow a lot of texture while keeping the same color range.

I found this fabric at SewTech and the fabric is currently at a reduced price!  Click the image below to see the fabrics for yourself.


The design I used for this pillow is Valentine Love Notes Pillow Cover and Mini Quilt from Jane Michel Designs.


I'm not going to be able to complete this pillow by the end of today.  I'll be posting a part 2 soon.

Til next time,

- - - - Jane - - - -